Carboy
My homebrewing misadventures
Five feet high and rising
Centennial hops growing like a weed
 |
| From Carboy |
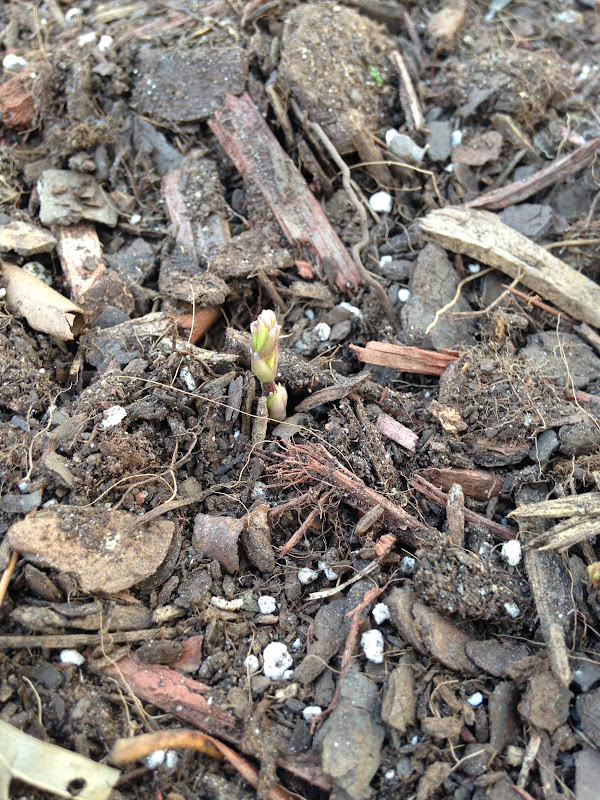
The most productive of the six hops rhizomes I planted after almost two months in the soil.
By Tom on 06/17/2016
Stage: Thirsty
PermalinkThe best bier for the wursts
Unveiling the fresh Kölsch in style
 |
| From Carboy |
By Tom on 05/21/2016
Stage: Enjoying
PermalinkBrewing in the rain
Making a raspberry wheat ale on a chilly May Sunday.
 |
| From Carboy |
By Tom on 05/15/2016
Stage: Brewing
PermalinkSpring is springing
Attempting to grow my own hops
 |
| From Carboy |
I'm trying to grow three varieties of hops this year, inspired by my wife's bountiful garden. Here's the first sprout of a Centennial rhizome to poke through the earth.
By Tom on 05/10/2016
Stage: Thirsty
PermalinkReadying a new lager
Keeping a new batch of Czech Pilsner cool
 |
| From Carboy |
By Tom on 04/24/2016
Stage: Primary
PermalinkStart your engines
The night before a lager brew day
 |
| A starter to get the Czech Pils yeast going before tomorrow's brew day. From Carboy |
By Tom on 04/23/2016
Stage: Thirsty
PermalinkRainy Day Brews
A collaboration beer that's a family affair
I've been overdue to brew a Kölsch I've been planning for the spring. Despite a constant drizzle all morning, I set up under the eaves of the garage and got to work, with the help of my brother-in-law, an engineer and accomplished homebrewer in his own right. Even though he has a technical background, his best advice for homebrewing is to not get too technical about it. With a little patience, any minor missteps in the brewing process will work themselves out in the fermenter, he says.
An acolyte of Charlie Papazian, my brother-in-law's mantra is to relax and have a homebrew. That was all the excuse we needed to drink a beer while we wee making it. Luckily, we still have some of the chocolate milk stout left to enjoy.
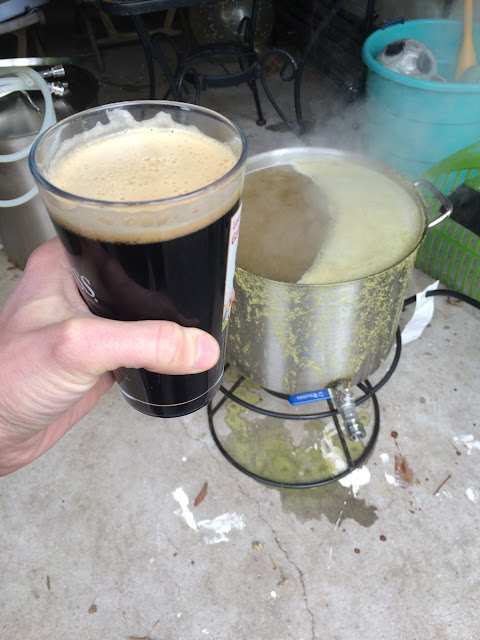 |
| Enjoying a pint of my chocolate milk stout while brewing a Kölsch. From Carboy |
Except for a slight boil-over after we added the Tradition hops to the boil, it was an uneventful brew, until it came time to rack the beer to the carboy. For years, I've used an immersion chiller to cool boiled wort. But my brother-in-law brought along his plate chiller to this brew day, and it was amazing. The plate chiller brings down the temperature of your wort while it's draining into the fermenter, cutting a good half-hour off the brew day, at least. Suffice it to say that I'll be looking to pick one of my own up soon enough.
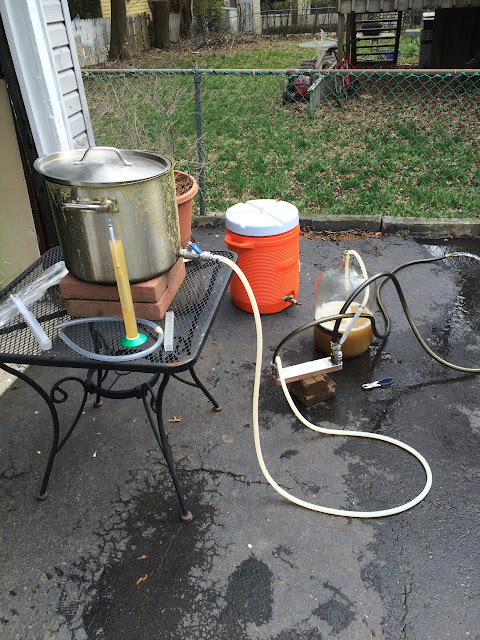 |
| The revolutionary plate chiller in action. From Carboy |
After one of my fastest brew days in years, I now have five gallons of Kölsch fermenting in my beer cellar. I'm looking forward to tapping a keg of it in six weeks. And I'll probably have to share a bottle with my brother-in-law, to thank him for introducing me to his plate chliler.
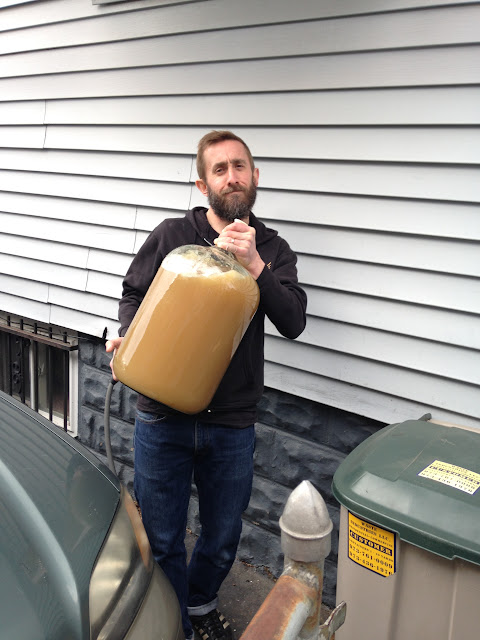 |
| Ready for primary fermentation. From Carboy |
By Tom on 04/02/2016
Stage: Brewing
Permalink
Brewing in three easy steps
Gravity (and a garage) can be a brewer's best helper while making an Irish Red Ale on a snowy day.
 |
| From Carboy |
By Tom on 02/16/2016
Stage: Brewing
Permalink
